
Why Your Grout Keeps Cracking (And What's Actually Causing It)

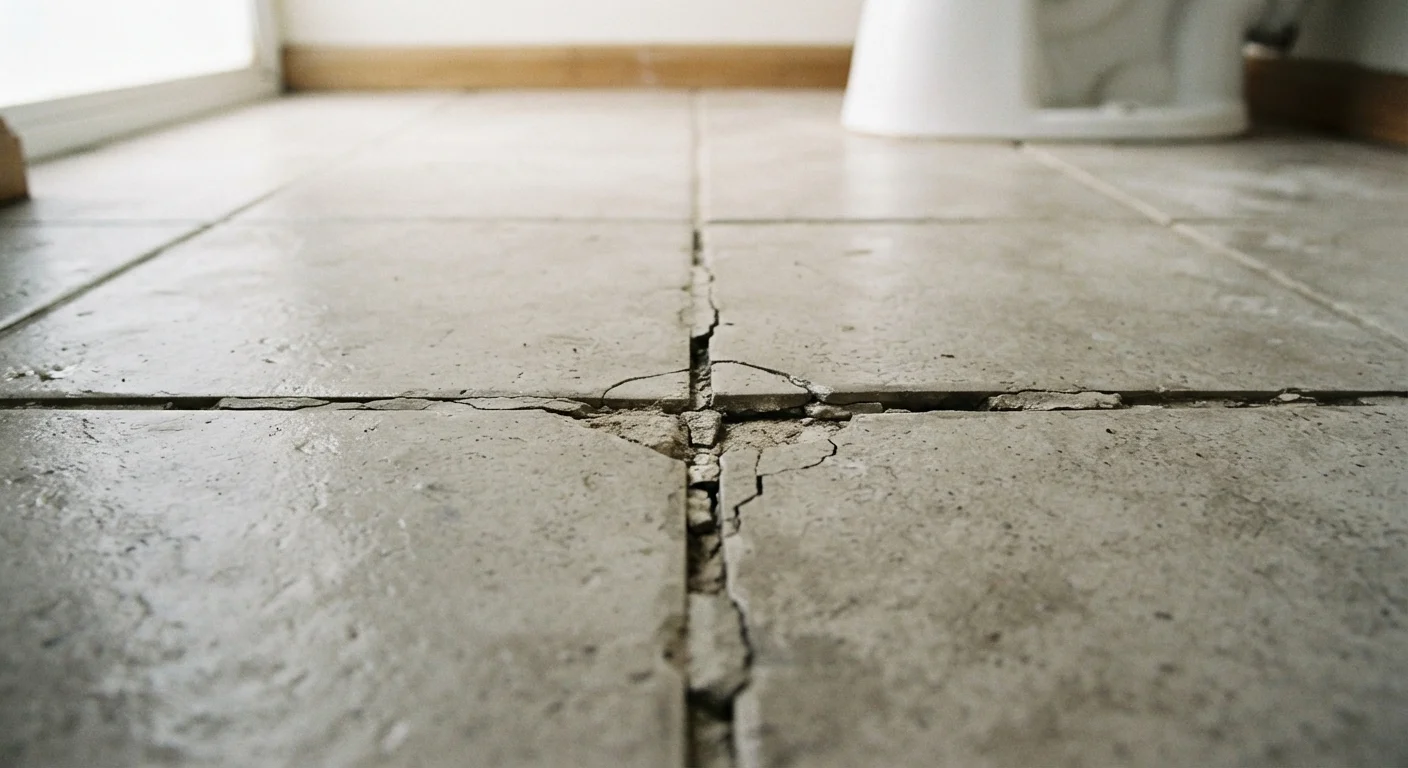
Photo: AnswersSquad.com | Explore Insightful Blogs editorial
Key Takeaways
- Cracked grout is usually a symptom of underlying structural or installation issues, not just age.
- Using the wrong grout type or mix ratio is one of the most common - and avoidable - causes.
- Skipping expansion joints allows natural movement to stress and crack grout over time.
- Moisture beneath tiles accelerates grout failure and can lead to mold or subfloor damage.
- Regrouting without fixing the root cause will result in the same cracks returning.
Why Grout Cracking Is Rarely Just a Surface Problem
If you've patched cracked grout only to watch the same lines open up a few months later, you're not alone - and you're probably not doing the repair wrong. The more likely explanation is that the repair addressed the symptom while the actual cause kept working underneath. Grout is a rigid material sitting inside a system that moves. When something in that system - the subfloor, the tile adhesive, the substrate - shifts or fails, the grout is typically the first thing to show it.
Understanding what's actually causing the cracking is the step most homeowners skip. They see a cracked grout line, buy a tube of grout repair, and fill it in. That approach works only when the cause is purely superficial, like surface shrinkage in an older installation. In most other cases, the crack will return. This guide walks through the most common mistakes that lead to grout failure - and, more usefully, what to do differently.
For broader context on reading what your home's cracks are telling you, see our guide to understanding cracks in walls and floors - it covers when a crack is cosmetic versus when it signals something structural.
The Most Common Grout Cracking Mistakes (And How to Avoid Them)
Most grout failures trace back to one of a handful of avoidable errors made during installation or maintenance. Some happen before a single tile is laid; others happen in the finishing stages. Knowing which mistake matches your situation helps you choose the right fix rather than repeating a temporary patch.
Using the wrong grout type for the application - for example, using unsanded grout in wide joints or sanded grout on polished stone.
Mixing grout too wet or applying it before it reaches the right consistency.
Skipping or misplacing expansion joints in large tiled areas or at wall-to-floor transitions.
Tiling over a substrate that flexes, is not properly cured, or was not designed for tile loads.
Not sealing grout in moisture-prone areas, allowing water to penetrate and weaken the grout from below.
Don't Just Regrout Over Cracked Tiles
One pattern worth noting: cracking that appears specifically at corners, where the floor meets the wall, or along the edge of a shower pan, is almost always an expansion joint problem rather than a grout quality issue. These transitions are high-movement zones, and filling them with rigid grout sets them up to fail. Replacing that grout with a color-matched flexible caulk - and keeping it maintained - is the correct long-term solution for those locations.
Repeated Cracking Needs a Professional Look
Before You Regrout: A Quick Diagnostic Check
Before mixing any new grout, spend five minutes doing a basic assessment of the affected area. Tap each tile gently with a knuckle or the handle of a screwdriver. A solid sound means the tile is well-bonded; a hollow or drum-like sound means the adhesive has failed beneath it. Hollow tiles need to be reset - not just regrouted.
Next, look at the pattern of the cracking. Cracks confined to grout lines only, without tile damage, often suggest substrate flex or an expansion joint issue. Cracks that run through both the grout and the tile itself point toward more significant movement, and may warrant a professional assessment. Our article on reading different crack types can help you interpret what you're seeing.
~48-72 hrs
Minimum grout cure time before sealing
Most cement-based grout manufacturers specify a 48 to 72-hour cure window before applying sealer or exposing joints to sustained moisture.
8-12 ft
Recommended expansion joint spacing for large tile installations
Industry guidelines from the Tile Council of North America (TCNA) generally recommend expansion joints at intervals of 8 to 12 feet in interior tiled fields.
If the tiles pass the tap test and the cracking is limited to the grout lines, you're likely dealing with one of the installation mistakes covered above. In that case, the repair path is clearer: remove the damaged grout, address the underlying cause, and regrout using the correct product and technique. Taking that extra diagnostic step before reaching for a patch kit is what separates a lasting fix from another temporary one.
The content provided on our blog site traverses numerous categories, offering readers valuable and practical information. Readers can use the editorial team’s research and data to gain more insights into their topics of interest. However, they are requested not to treat the articles as conclusive. The website team cannot be held responsible for differences in data or inaccuracies found across other platforms. Please also note that the site might also miss out on various schemes and offers available that the readers may find more beneficial than the ones we cover.