
Patching Drywall: A Practical Walkthrough for Small Holes and Dings

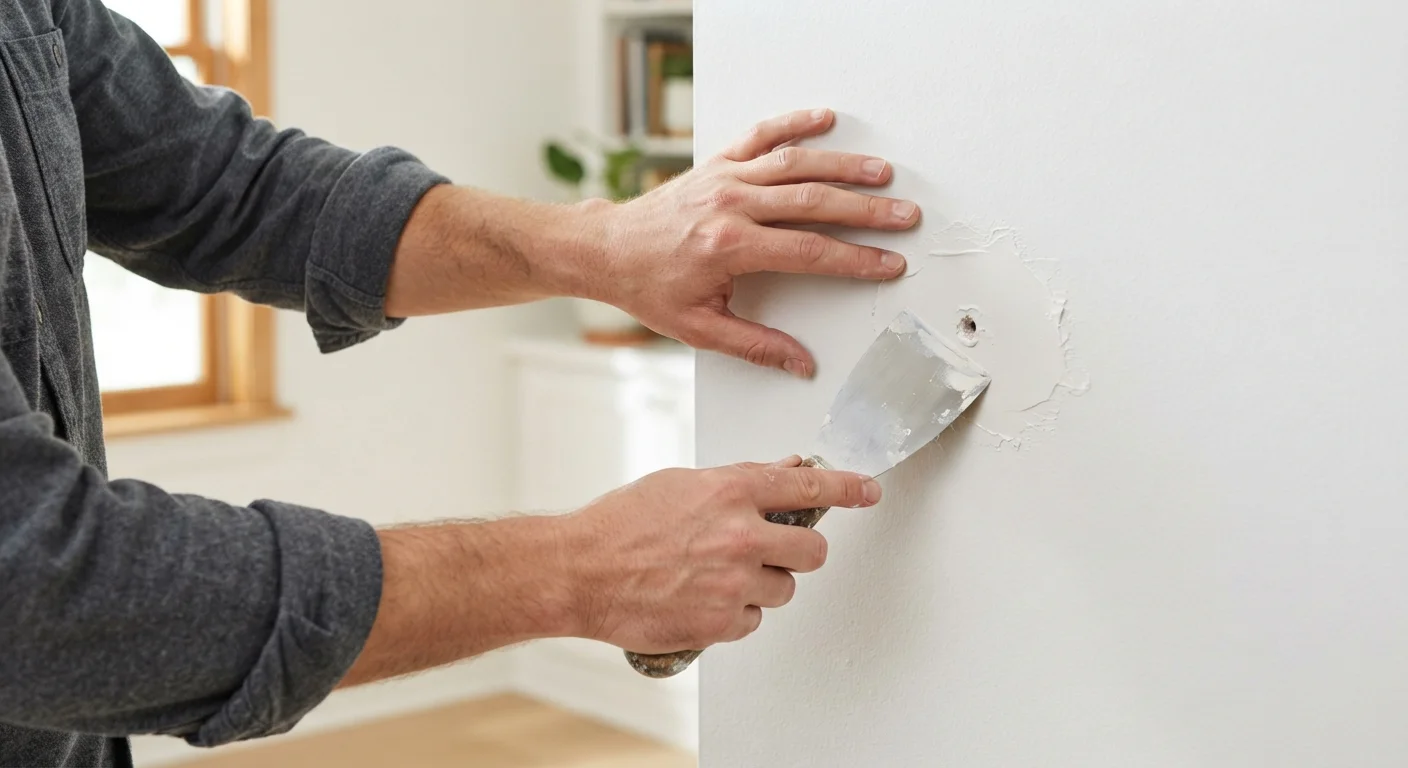
Photo: AnswersSquad.com | Explore Insightful Blogs editorial
Key Takeaways
- Most small holes and nail pops require only a few basic tools and a tube of joint compound.
- Allowing adequate drying time between coats is the single most important factor for a smooth finish.
- Feathering your compound edges prevents visible ridges once the wall is painted.
- Holes wider than about six inches typically need a different backing approach or professional assessment.
- Matching your existing wall texture is the final - and often trickiest - step before repainting.
When Patching Makes Sense - and When It Doesn't
Nail holes, doorknob dents, anchor pull-outs, and minor scuffs are among the most common cosmetic issues in any home, and they're genuinely well-suited to a DIY fix. If you're weighing whether to tackle this yourself or call someone in, our guide to DIY vs. professional repairs lays out a useful framework for thinking it through.
That said, not every wall imperfection is a simple cosmetic issue. Wide, diagonal, or recurring cracks can indicate settling or structural movement. Before you reach for the compound, take a look at what different cracks are telling you - some warrant a professional eye rather than a patch job. Similarly, any damage accompanied by soft or discolored drywall may point to a moisture problem behind the wall; consult waterproofing and drainage fundamentals before sealing anything over.
For straightforward small holes and dings - anything roughly the size of a golf ball or smaller - patching is a practical weekend task that most people can complete in under two hours, spread across a morning to allow drying time.
Lightweight joint compound (pre-mixed)
The primary filling material used to build up and smooth over holes and damaged areas.
Putty knife (4-6 inch)
Used to apply and smooth the first thin coat of compound into and around the hole.
Wide taping knife (8-10 inch)
Used for feathering subsequent coats over a broader area to blend the patch seamlessly.
Self-adhesive mesh patch
Provides structural backing for holes between roughly half an inch and four inches wide.
Sandpaper (120-grit and 220-grit)
Used between coats and after the final coat to smooth ridges and achieve a flush surface.
Drywall primer
Seals the porous compound before painting to prevent uneven paint absorption.
Utility knife
Trims torn paper edges and cuts away loose material around the damaged area.
N95 dust mask
Protects your lungs from fine drywall dust generated during sanding.
Step-by-Step: Patching Small Holes and Dings
Work through these steps in order. Skipping ahead - especially between coats - is the most common reason patches remain visible after painting.
What you will need
Clean and prepare the damaged area
Remove any loose paper facing, crumbled gypsum, or protruding fasteners around the hole. If a nail or screw is popped but still in the wall, drive it just below the surface with a hammer or screwdriver - don't remove it. Torn paper edges should be pressed flat or trimmed cleanly with a utility knife. A smooth, stable perimeter is essential for compound to bond properly.
Choose the right repair method for your hole size
For nail holes and small dings (under ½ inch): fill directly with lightweight spackle or joint compound using a putty knife. No backing needed.
For holes between ½ inch and 4 inches: use a self-adhesive mesh patch. Peel and stick it over the hole, pressing firmly so the entire perimeter contacts the wall.
For holes between 4 and 6 inches: a California patch (using a piece of drywall with its paper backing intact as a flap) or a clip-backed drywall insert provides the structural support that compound alone can't.
Apply the first coat of joint compound
Using a 4- to 6-inch putty knife, spread a thin, even coat of lightweight joint compound over the patch and a few inches onto the surrounding wall. Hold the knife at a low angle and drag it firmly across the surface, then smooth perpendicular to your first pass. Don't try to build up thickness in one coat - thin layers dry faster and shrink less.
Let it dry completely, then sand lightly
Allow the first coat to dry until it turns uniformly white - this typically takes 4 to 8 hours depending on humidity and coat thickness. Don't rush this step with a heat gun; uneven drying causes cracking. Once dry, sand lightly with 120-grit sandpaper to knock down ridges and tool marks. Wipe away dust with a slightly damp cloth before the next coat.
Apply a second (and possibly third) coat
Switch to a wider knife - 8 to 10 inches - for subsequent coats. Spread compound thinly, extending the blend zone 2 to 3 inches further than the previous coat. This gradual feathering is what makes patches invisible: the transition from patch to wall becomes too gradual for the eye to detect. Most repairs need two finish coats. Deep holes or mesh-patched areas may need a third.
Final sand and surface check
Once the last coat is fully dry, sand the entire patched area with 150-grit sandpaper, then finish with 220-grit for a smooth surface. Work in circular motions, then finish with straight passes. Feather carefully at the edges. The surface should feel flush with the surrounding wall and show no visible ridges when you view it from a low angle.
Work in Thin Coats Every Time
Finishing and Painting Over Your Patch
Once your final coat of compound is fully dry and sanded, run your hand across the surface. You shouldn't feel any edge between the patch and the surrounding wall. If you can, apply one more thin skim coat and sand again after it dries.
Before painting, prime the patched area. Joint compound is porous and will absorb paint unevenly - called flashing - if you skip this step. A single coat of drywall primer or a general-purpose primer is sufficient for small repairs. Allow it to dry fully before applying your topcoat.
If your wall has a texture (orange peel, knockdown, or skip trowel), recreating it is the hardest part of any drywall patch. Aerosol texture sprays are available for common patterns, but matching an existing texture takes practice. Test on cardboard before applying to the wall, and plan to blend into a broader area rather than just the patch itself.
For renters, check your lease before painting over a repair - some landlords prefer to handle final paint touch-ups themselves. And if you're ever unsure whether a wall repair crosses into territory that needs a licensed hand, our DIY vs. licensed contractor guide can help you draw the right line.
The content provided on our blog site traverses numerous categories, offering readers valuable and practical information. Readers can use the editorial team’s research and data to gain more insights into their topics of interest. However, they are requested not to treat the articles as conclusive. The website team cannot be held responsible for differences in data or inaccuracies found across other platforms. Please also note that the site might also miss out on various schemes and offers available that the readers may find more beneficial than the ones we cover.